**The first of several posts on the DIY projects Mr. Gooch and I will be completing over the next few weeks to put in our gift baskets running up to Christmas**
This year is a DIY Christmas. We are putting together gift baskets for everyone this year made up of DIY Projects (like these coasters) and soup/brownie/drink mixes packaged in a festive manner.
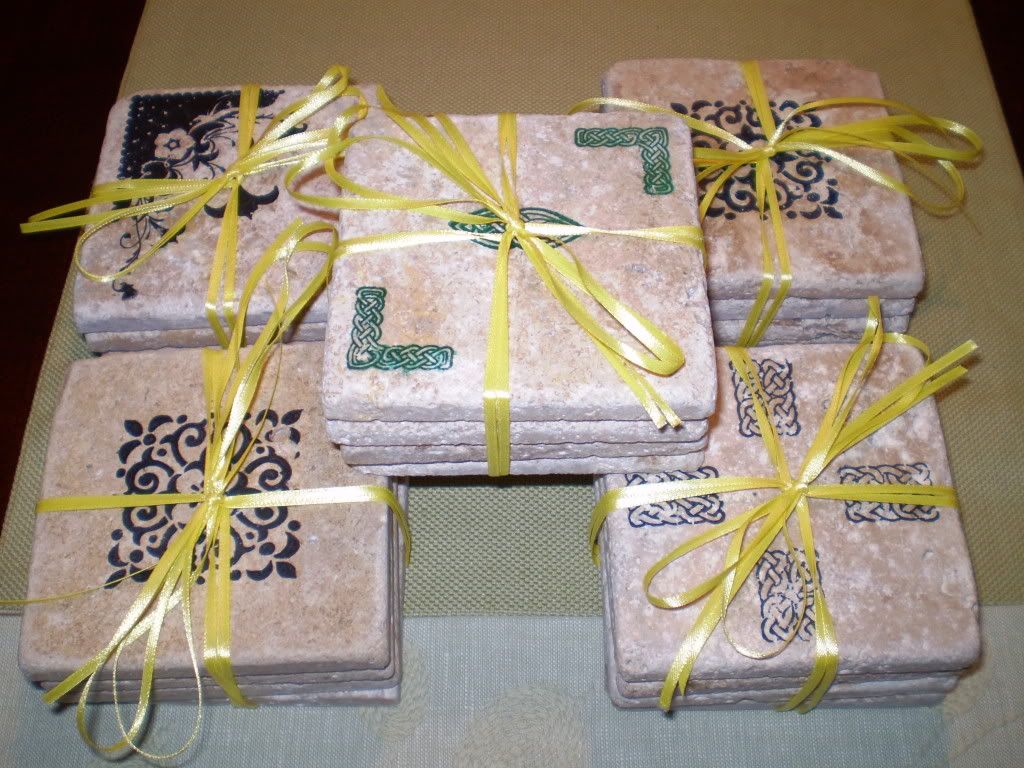
Tile Coasters
Supplies
4 x 4 tiles (I used a tumbled marble) [make sure to get several more than the total number you need since inevitably several will go horribly wrong]
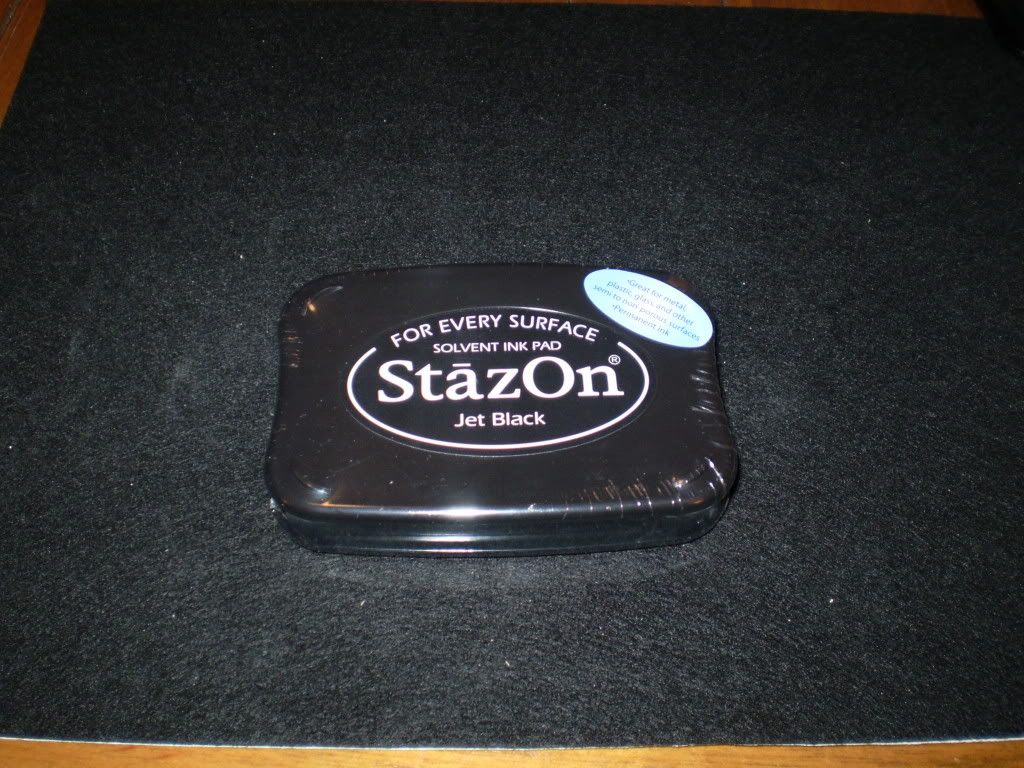
StazOn Stamping Ink (this is a permanent stamping ink)
Self Adhesive Felt
Stamps
Sealer (I used a matte finish poly spray)
Directions
1. Rinse and dry tiles.
2. Place dry tile in center of your work area.
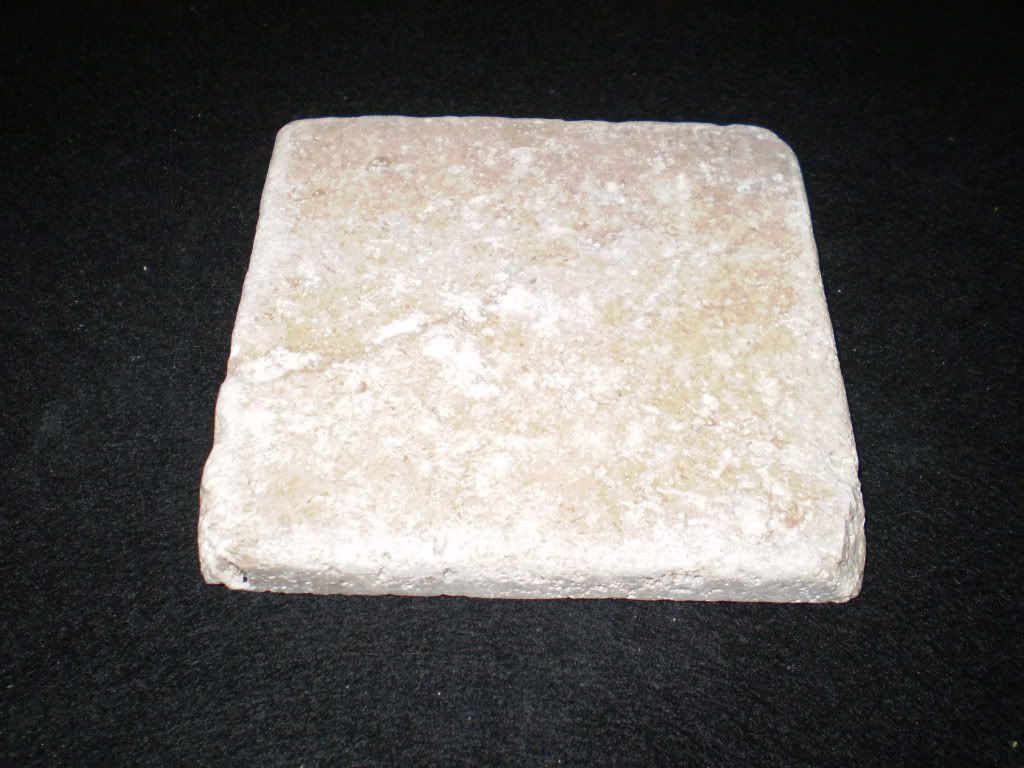 3. Select your stamp color.
 4. Select your stamp.
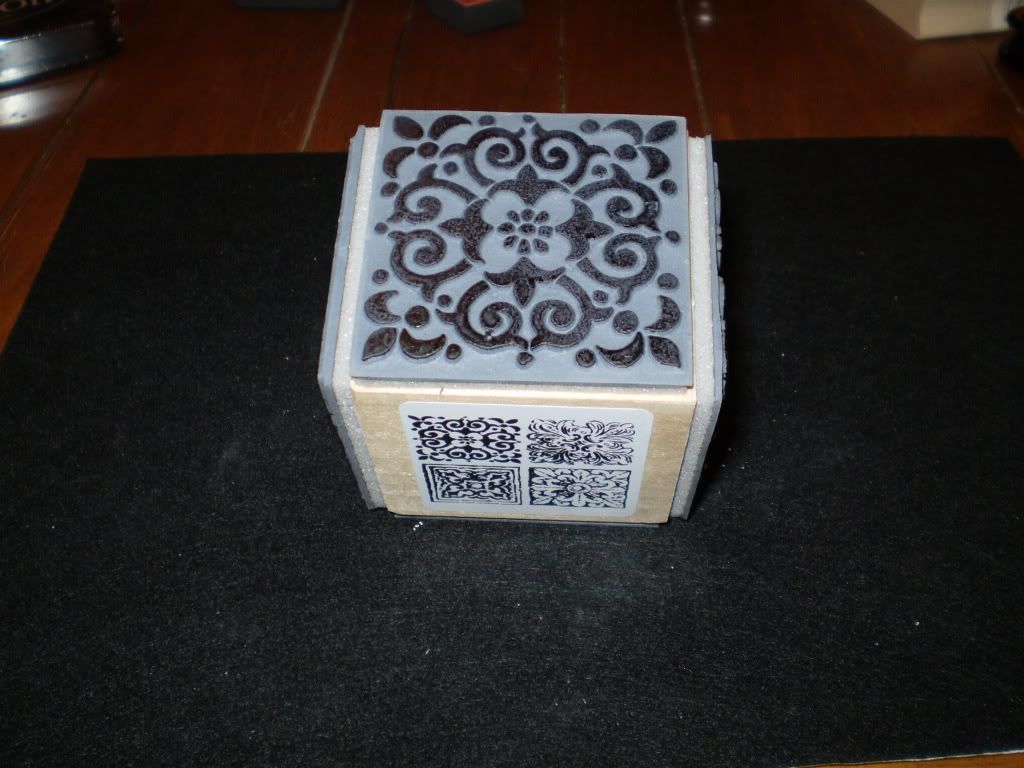
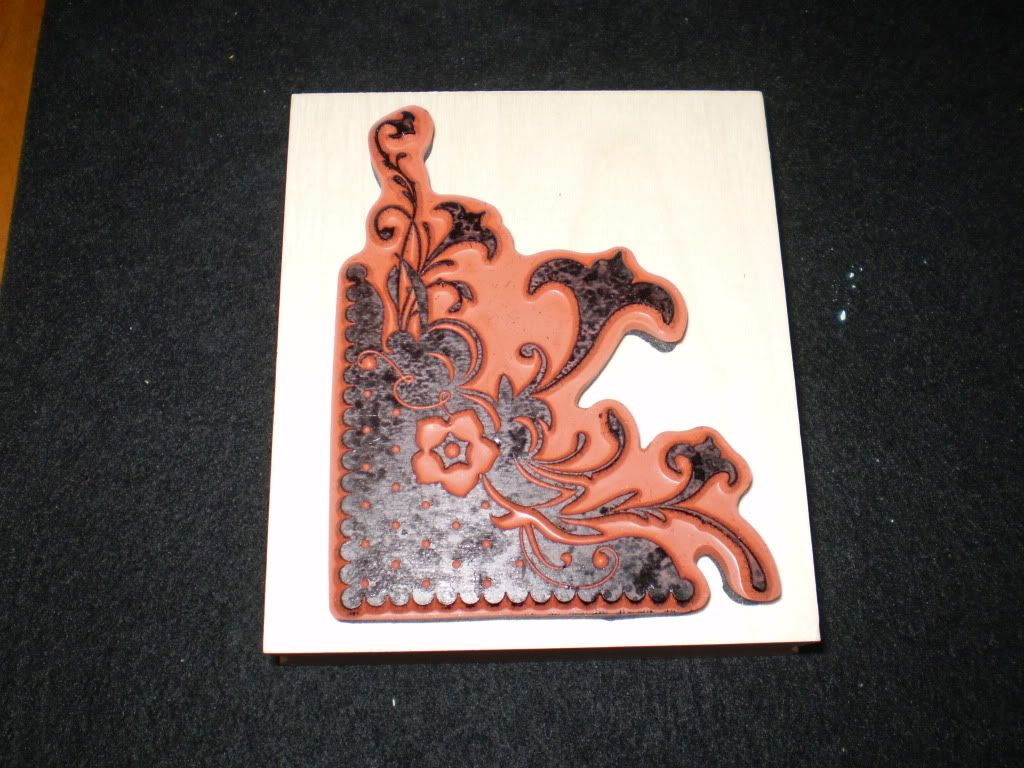
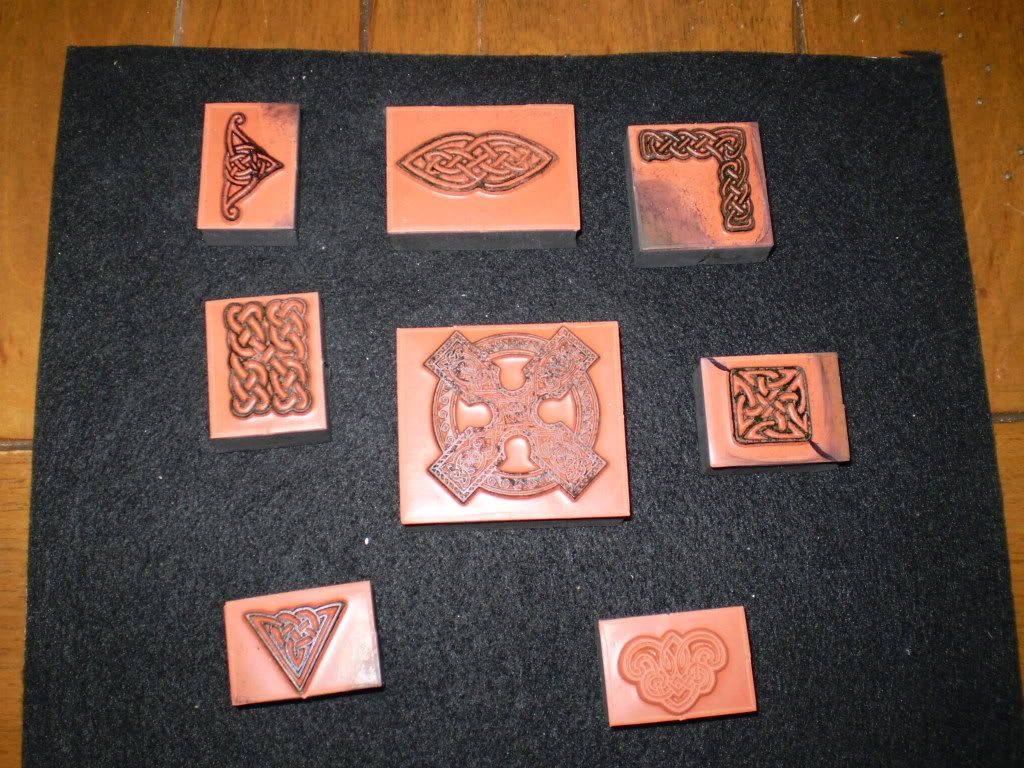 5. Ink entire image, taking care to wipe off any excess that may have gotten on the edges of the stamp.
6. Line up stamp and press stamp with steady pressure onto tile.
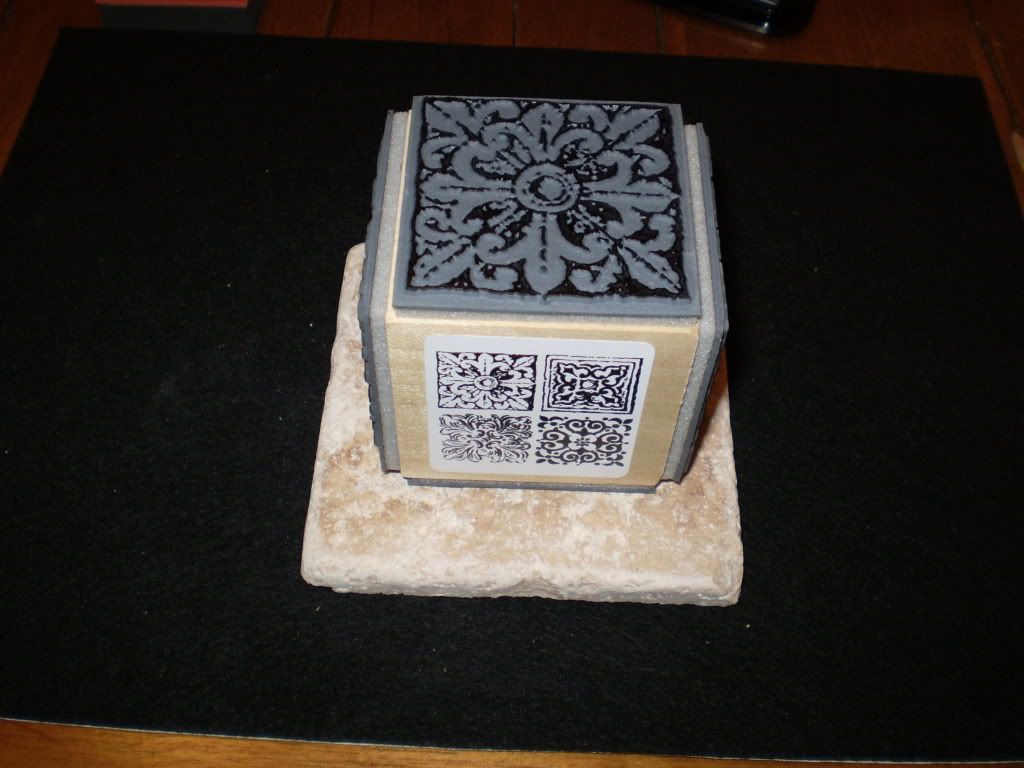 7. Fill in any spaces in the image on the tile with permanent marker of the same color.
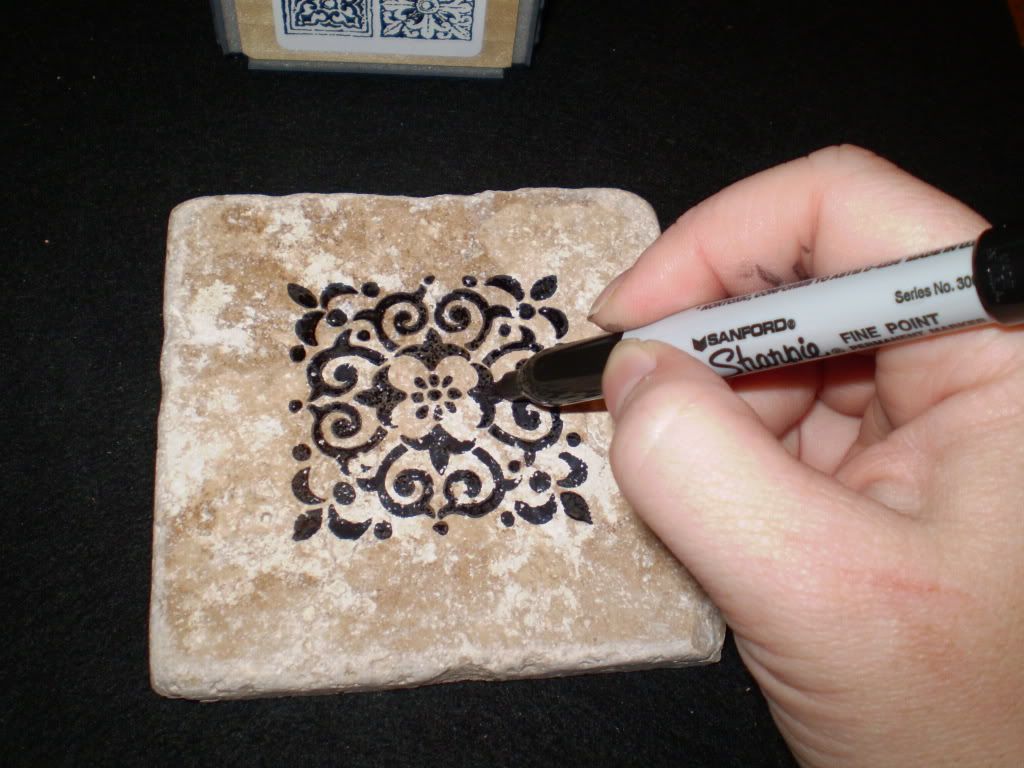 8. Let ink dry for 5 to 10 minutes, then place tile onto a cookie sheet and place in oven preheated to 375 degrees for 12-15 minutes.
9. Let cool completely.
10. Spray with sealer and let dry completely.
11. Place pieces of self adhesive felt to the bottom of the tile. I cut these in advance to speed this step. Each piece is about 1/4 inch square.
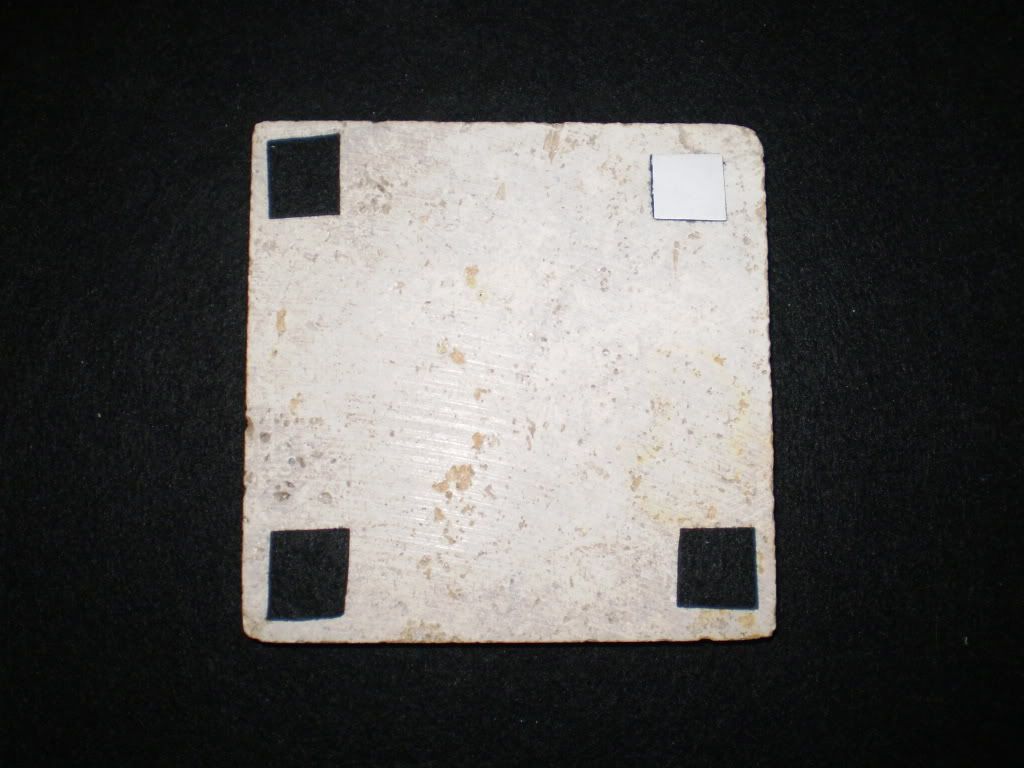 12. Tie coasters together with ribbon for gift giving.

Print this post
This year is a DIY Christmas. We are putting together gift baskets for everyone this year made up of DIY Projects (like these coasters) and soup/brownie/drink mixes packaged in a festive manner.

Tile Coasters
Supplies
4 x 4 tiles (I used a tumbled marble) [make sure to get several more than the total number you need since inevitably several will go horribly wrong]
StazOn Stamping Ink (this is a permanent stamping ink)
Self Adhesive Felt
Stamps
Sealer (I used a matte finish poly spray)
Directions
1. Rinse and dry tiles.
2. Place dry tile in center of your work area.
 3. Select your stamp color.
 4. Select your stamp.

 5. Ink entire image, taking care to wipe off any excess that may have gotten on the edges of the stamp.
6. Line up stamp and press stamp with steady pressure onto tile.
 7. Fill in any spaces in the image on the tile with permanent marker of the same color.
 8. Let ink dry for 5 to 10 minutes, then place tile onto a cookie sheet and place in oven preheated to 375 degrees for 12-15 minutes.
9. Let cool completely.
10. Spray with sealer and let dry completely.
11. Place pieces of self adhesive felt to the bottom of the tile. I cut these in advance to speed this step. Each piece is about 1/4 inch square.
 12. Tie coasters together with ribbon for gift giving.


10 Comments:
These looks great! What a fantastic way to give a gift without spending a bundle!
What a great idea, they do look really nice. Thank you for sharing this project!
This is such a fantastic idea. Thanks tons for sharing, I'll be linking to this!
Hi, what a great idea! Do you think that the StazOn would would for tiles that are shiny/Glossy?
I don't think StazOn would work on the shiny tiles since there isn't anything for the ink to "soak" into on the surface of the tile.
This was a great idea! Instead of using the stamps on the tiles, I used MogPog and put differnt quotes and sayings on each tile (these quotes were on velum paper). I then used the MogPog as a sealer for the tile. They turned out really good for Christmas presents and after showing them to other friends/family they all wanted some of their own.
Those are really neat, but I had one question- what did you use as a sealer? I used a satin finish acrylic sealer I got at the hardware store and mugs can stick sometimes. Thanks, and again- what neat coasters, and thank you for sharing how you made them.
Jack, I used a matte finish poly spray I got at Michael's craft store. Unfortunately, I no longer have the can as I used it all up.
I used 3-4 light layers of the spray, and let them dry completely between each application.
Can you tell me what type of tile you used? That may shed more light on why you have the sticking issue. My email is gooch100 at gmail.com if you would like to contact me directly.
What a great tutorial! I have been searching out stamped coasters and found you. Unlike some others I found, you bake the coasters. I kept wondering how some of those others did not mess up when they got wet! Glad I stopped by. We are making gifts for each other for Christmas this year and this is a great project for me! Thanks for sharing. Have a great day!
I did tiles 6 years ago with StazOn and used my pastel chalks to add a little color. I did not bother to heat set and used 3-4 layers of light spray clear acrylic sealer and they are still absorbent and look like new.
FYI~StazOn will work on any tile, you just need to be careful not to wiggle the stamp. It is made specifically to be used on glossy surfaces and can even be used on glass. If you have any oops spots you can use rubbing alcohol to clean the tiles or whatever surface you want to remove the StazOn.
Post a Comment